Create a Project Book
You can structure and format the Project Book in any way you wish. You can use your choice of colours, add a company logo and possibly add a project image. Your company information is automatically copied to the Project Book, so please make sure that it is correct. To change your company information, go to ‘Account’ in the Data Manager main menu.
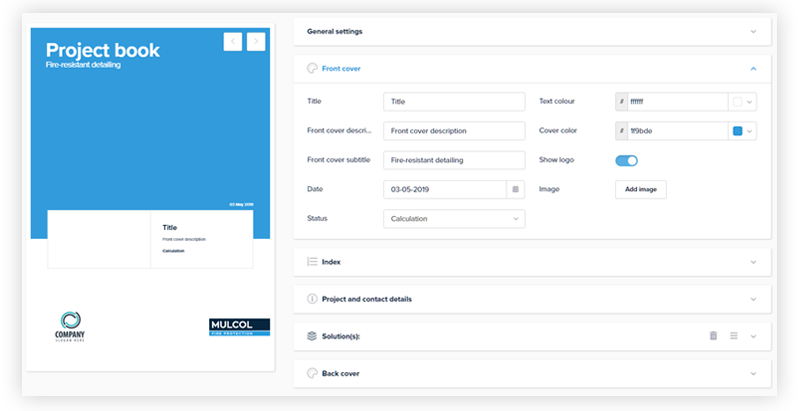
General settings
Under the ‘General settings’ tab, enter the Project Book’s name and an optional short description that will be used for archiving the Project Book. You are free to choose the text colour that will be used in the Project Book and the colours for the headers.
Cover page
On the left-hand side of the screen, you can see how the Project Book’s cover page will look based on the data you have entered and your choice of layout. If you have previously uploaded your company logo to your company information in the main account, you can display it on the cover page. Do you have an image of the project? If so, simply add it by clicking the ‘Add image’ button.
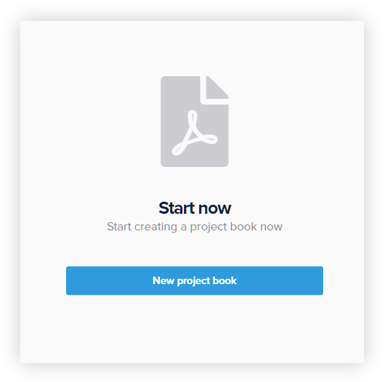
Create a Project Book for the first time
When you create a Project Book for the first time, you will see this start screen. Click ‘New project book’ to start.
Live preview
Use this function to see how your Project Book will look. You can use the live preview function to display the layout on your screen.
Table of contents
You do not have to worry about the table of contents; it is automatically generated based on the number of firstopping solutions and attachments that you add.
Project and contact details
You can enter the details of the project, the client and the party responsible for management and maintenance (if applicable) here. If you have already entered the details when creating a project in the Datamanager, you can simply copy them by linking the project data. If you do not wish to include the details in the Project Book, toggle the ‘Show’ button to off.
Solutions
Add the firestopping solution(s) that you have created and stored in your Favourites using the Multiselector here. To add solutions from the Multiselector, click the ‘Add solution(s)’ button. Click here for more information.
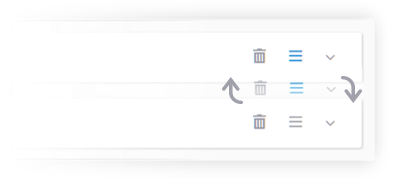
Change sequence
Create your own choice of structure by dragging tabs.
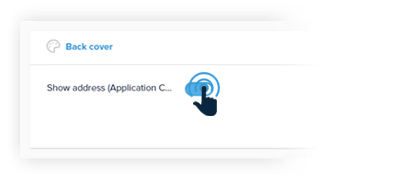
Simple operation
Click the ‘toggle’ button to turn this on and off.
Add Multiselector solutions
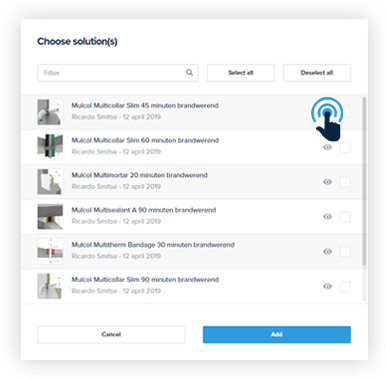
View chosen solution
Click the ‘eye’ icon to view the solution first before generating the Project Book.
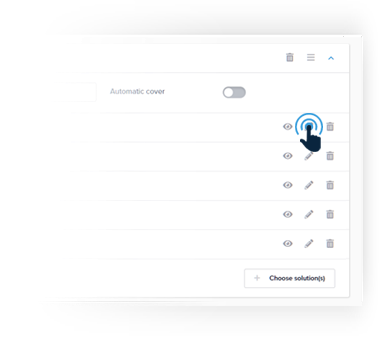
Change solution name
Change the name of the solution by clicking the ‘pencil’ icon.
Add page
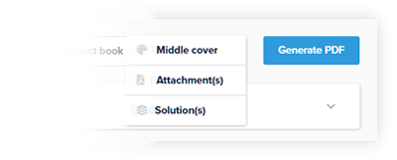
Add extra sheet
Click ‘Add a sheet’ and select the option you want from the list.
Save, share and edit the Project Book
You can easily store the Project Book, download it as a PDF file or send it directly by email. You can edit the Project Book at any time if you wish to make any subsequent changes.
Save and share the Project Book
When you have finished formatting your Project Book, you can save it and generate a PDF file. This may take a few minutes depending on the size of the Project Book.
Once this process is finished, you can download the Project Book to your desktop as a PDF file or send it directly by email to your contacts.
Edit the project book
You can edit the Project Book at any time. If you do so, remember that any versions of the Project Book that you have previously downloaded or shared by email are no longer up-to-date.
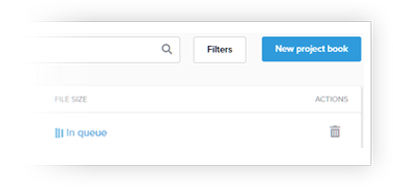
Processing
Generating the PDF file may take several minutes.